PULP development 2
After producing a flat piece of paper, as shown in previous post, i left it to dry completely. This took about 5 days. I then tried to shape it just creating folds to test how well it could be moulded.
The video above shows a piece that had come apart from the large piece due to the paper being made up of six small pieces. I found the paper too brittle to bend into a nice curve and the more i played around with it the more it cracked and began to fall apart.
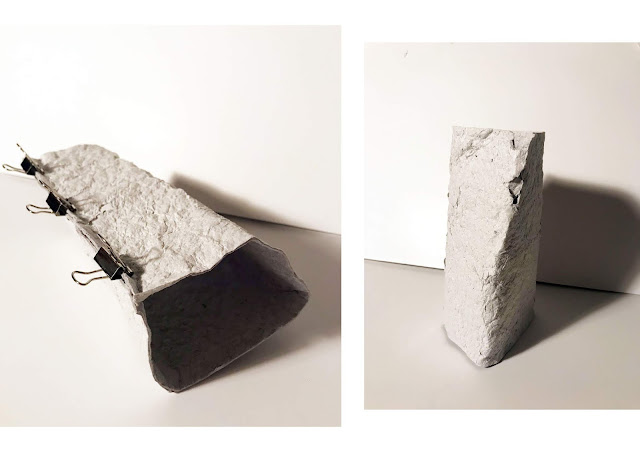
I then used the bigger piece and tried to bend it on a straight line as oppose to a curve. This worked slightly better but still created cracks. After i had folded it i decided to spray it lightly with water to soften the corners. This allowed me to create softer corner and to push the cracks back together.
Currently, the open seam is held together by bulldog clips. I have wet the edges and i'm hoping that they'll start to fuse together.
I don't think this method works as i'd like it to as i can't create a bottom to the piece making it a fairly useless object, which is not what i'm looking to achieve.
To try and rectify the problems that i encountered with the above test, I started making more flat pieces (this time also dying them with ink) but i intend to mould them when they're partially dry, maybe draping them over an object and manipulating the shape.
One main issue i had with the last test was the weak points in the paper due to it being made up of individual pieces pressed together.
Instead of making a larger frame, i used some mesh like fabric i already had.
The fabric worked well but more water remained in the paper so they took more pressing etc. but that allowed me to get the pieces quite thin. I made three pieces and will leave them a couple of days before attempting moulding.
I have also made a white batch that i will leave to soak overnight to see if the texture is affected.


Comments
Post a Comment